
When starting a Digital Scrapbook layout, thought needs to be given to the end result. Will the final result be printed or will it remain on a digital device for viewing? Once the finished product goal is determined a new image can be opened in GIMP. The new image becomes your Digital Scrapbook layout and should be saved as a GIMP native .XCF file which will maintain the image layers allowing for edit-ability. The completed layout needs to be exported as a JPG in preparation for printing. An added step is to reduce the image quality and export as a reduced file for online/social media purposes.
In preparation for printing your Digital Scrapbook album into a bound book for presentation, the layouts will need to be created at 300 ppi (pixels per inch). Once you have completed the layout and exported to a 300 ppi JPG file, the image can be reduced to 72 ppi for storage as a media image and for submitting to social media sites. The ppi needs to be higher for printing than is necessary for use on a screen device.
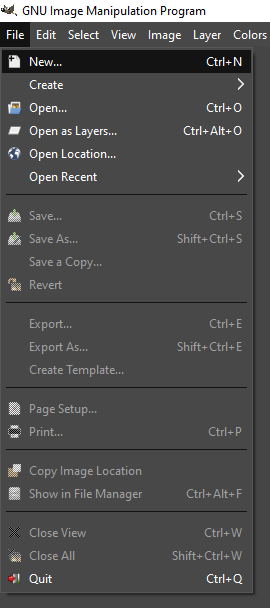
To begin your Digital Scrapbook layout, you will open a NEW IMAGE in GIMP.
This can be done by:
- Accessing the FILE menu from along the top menu options and choosing NEW, or
- Typing CTRL+N on the keyboard
A new menu window will appear.
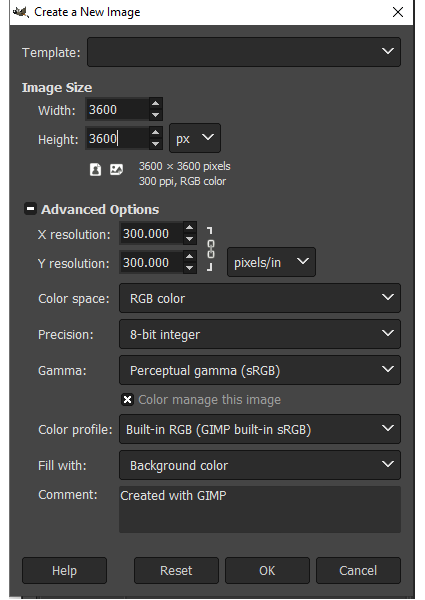
Choose your image size and resolution which is located in ADVANCED OPTIONS.
A 12″ by 12″ finished layout at 300 ppi will start as a 3600 by 3600 GIMP image.
Under ADVANCED OPTIONS you can choose whether the new image is filled with Background Color, Foreground Color, White, or Transparency. Choose your preference and click OK.
Once you have your new image open, you can create your Digital Scrapbook layout by placing photos, digital papers, elements, title and journaling onto the page.
When you are pleased with your layout, save as a .XCF file so you can come back and edit it if necessary.
To Save you:
- Access FILE from top menu options and select SAVE or SAVE AS, or
- Type CTRL+S to save or SHIFT+CTRL+S to save as
Locate the file folder in which you desire to save and name your image, click on SAVE.
The native GIMP file will maintain your layers allowing for any changes you desire to make.
When you are ready for printing, EXPORT your image to a JPG image.
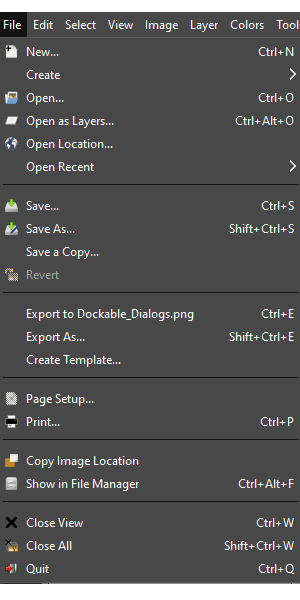
To EXPORT you:
- Access FILE menu once again, select EXPORT or EXPORT AS or,
- Type CTRL+E to export or SHIFT+CTRL+E to export as
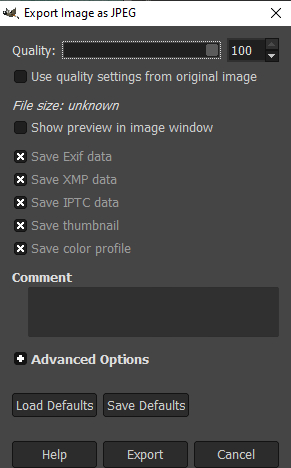
Locate the image’s destination folder and click on EXPORT. An additional window will appear where you can use the default settings or increase the percentage to 100 and click on EXPORT.
Smaller images with less resolution can be used for online/social media purposes. If you will be posting online, you should reduce the resolution of your JPG.
This is done by opening the newly exported JPG image in GIMP.
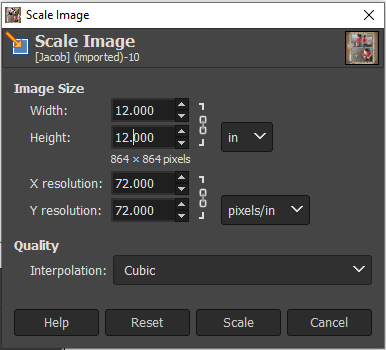
Accessing the IMAGE menu and selecting SCALE IMAGE from the drop down menu.
In the new window which appears, change the resolution to 72 ppi and set your image size based on pixels or inches, whichever you prefer.
A 12″ by 12″ image at 72 ppi will now be 864 by 864 pixels.
Once the image size has been reduced you will EXPORT once again and choose a new location to store the reduced files as you do NOT want to confuse this file with the print-ready, higher resolution JPG image

My organization for these files includes a main folder for the album on which I am working for example “Wedding Album”. Inside this “Wedding Album” folder are three folders. “XCF, “JPEG”, and “JPG_72”. In this way, all images are separated by type and can be easily accessed for the purpose needed.
Watch this video to see me walk through these steps:
Have a GREAT day and continue Preserving Memories for Future Generations!
Bye Bye for now!